Using Jenkins Behind a Proxy
I am going to share my findings while I was trying to make Jenkins work behind a proxy. It took some of my time to figure it out. If it is possible, it could be better to use Dockerized Jenkins but here in my use case, I used WAR package.
Installation
During initial installation, Jenkins suggests you to install some plugins, and set up some proxy settings. This part did not work in my case. Anyway, we can skip this setup, as it can be done later on.
Proxy Settings
From the Jenkins Dashboard, navigate to Manage Jenkins > Manage Plugins. Select Advanced tab, which is the last of four tabs.
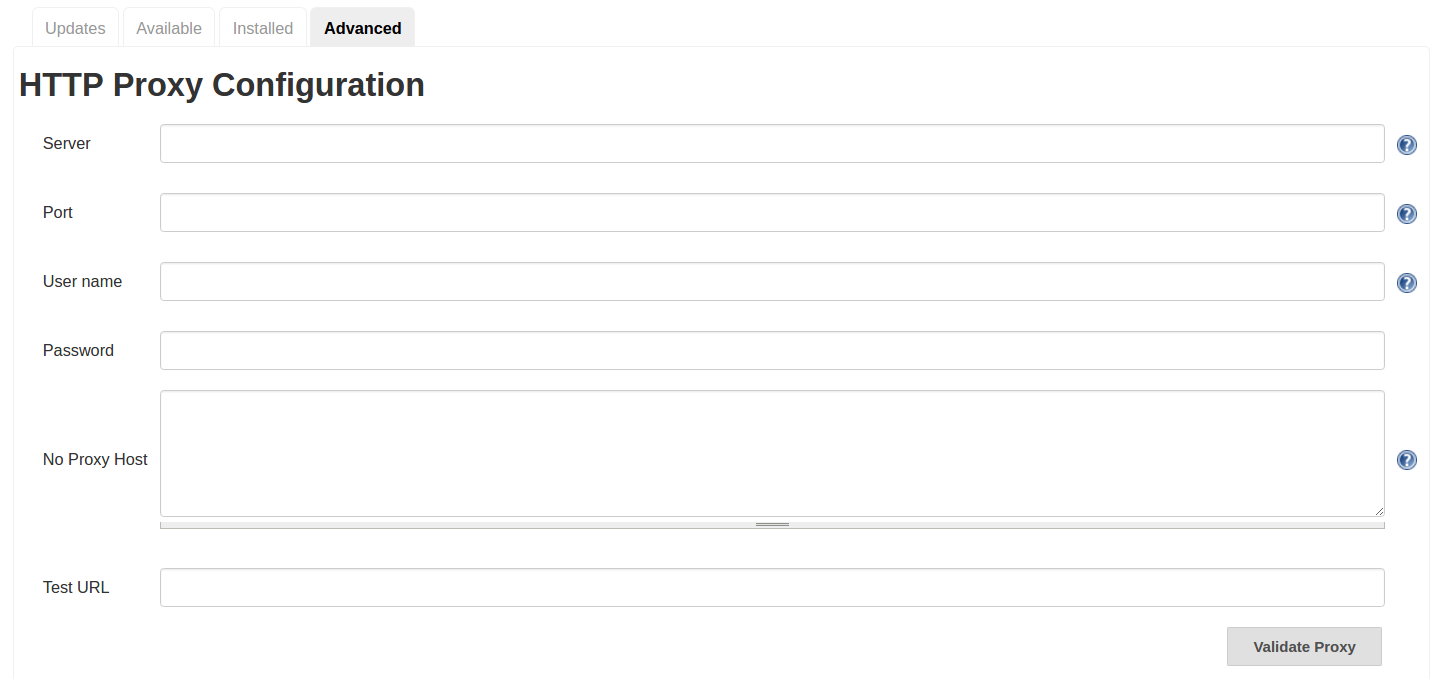
Enter your proxy server URL and port address. You may not need to type the username and password.
You can use https://www.google.com as test URL to validate your proxy settings.
Now you get your green light, you can move down the page to grab all plugin information from Jenkins server.
Use the button at right bottom to check now. Here is the killing part: you will get a nasty long SSLHandshakeException.
That means that you are not done yet. Take a lot at the bottom of the page:
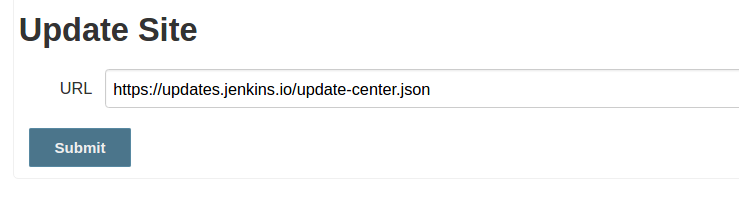
Jenkins is not able to retrieve required information from that URL. You should change ‘HTTPS’ to ‘HTTP’, that solves the problem with SSLHandshakeException. Let’s give it another try and use the button at the bottom right which says ‘Check Now’.
Hopefully, all went without a problem. Now it is time to check ‘Available’ tab to check what plugins can be installed. There is a slight problem here that you have to wait for a while. It takes time to get and parse all the information, so Jenkins seems to be stacked while loading that page. Go and get some coffee or tea. You will be happy that now everything works as expected when you are back.
That’s all for now. Dealing with proxy is always a problem. I may share my other adventures with tools like curl and npm some other time. Of course, needless to say that you are doing this on your own risk. We all know what that ‘S’ in HTTPS stands for. Happy DevOps’ing.